 Warm, fresh, creamy homemade ricotta. Yummmm. Simply heavenly.
Who in the world would have thought it was this easy to make fresh ricotta??? I will never buy store bought ricotta again! I remember being in Sicilia one Easter with my friend, Danielle. Danielle lived with his parents (of course) in the apartamento above. On Easter morning, the doorbell rang and there stood his friend, who had driven down from his village near Mount Etna, to deliver a freshly killed baby goat for roasting, warm, fresh ricotta and a loaf of freshly baked bread wrapped in simple brown paper. The minute his amico was out the door, I lunged for the ricotta and bread. (I quickly forgot about the poor baby goat which he promptly, and thankfully, delivered to his parents.) We happily sat at his kitchen table slathering fresh, warm ricotta on the bread. How I still remember the taste of that ricotta – warm and wonderfully creamy. So you can imagine my excitement when I recently learned just how simple fresh ricotta is to make! The result is an incredibly creamy, fresh cloud that is incomparable in taste to its store bought relatives. The uses for this delicious treat are endless – slathered on bread alone, with a drizzle of honey, with warm roasted tomatoes, in ravioli, with fresh figs, in desserts and on and on and on. We will be making quite a few of these in the upcoming blogs but for now, lets get down to making this heavenly treat!
Homemade Ricotta
1 gallon of whole milk
1 quart of low-fat buttermilk
Salt (optional)
Cheesecloth
Candy thermometer
Rinse cheesecloth and fold into layers. Line a colander with the cheesecloth in the sink.
Pick a large stockpot that will hold the milk and buttermilk. (I used my stainless steel pot as I read that aluminum or copper will react with the acid in the milk.) Pour the milk and buttermilk into the pot. Add a touch of salt if using for a savory dish. Attach a candy thermometer.
Warm the milk over medium heat. Stir occasionally, scraping the bottom of the pot to ensure the milk does not burn. Once the milk is warm, stop stirring and let it continue to heat.
You will start to see the curds separating and forming lumps as it heats. When the milk reaches 175 degrees, the curds and whey will separate. Remove the pan from the heat.

Using a ladle with holes, gently transfer the curds to the cheesecloth. Let drain for approximately 15 minutes.
Bundle up the sides to the cheesecloth gently and tie. Using a rubber band or the knot in the cheesecloth, hang bag from faucet to allow to drain until the dripping has stopped and the cheese has cooled.
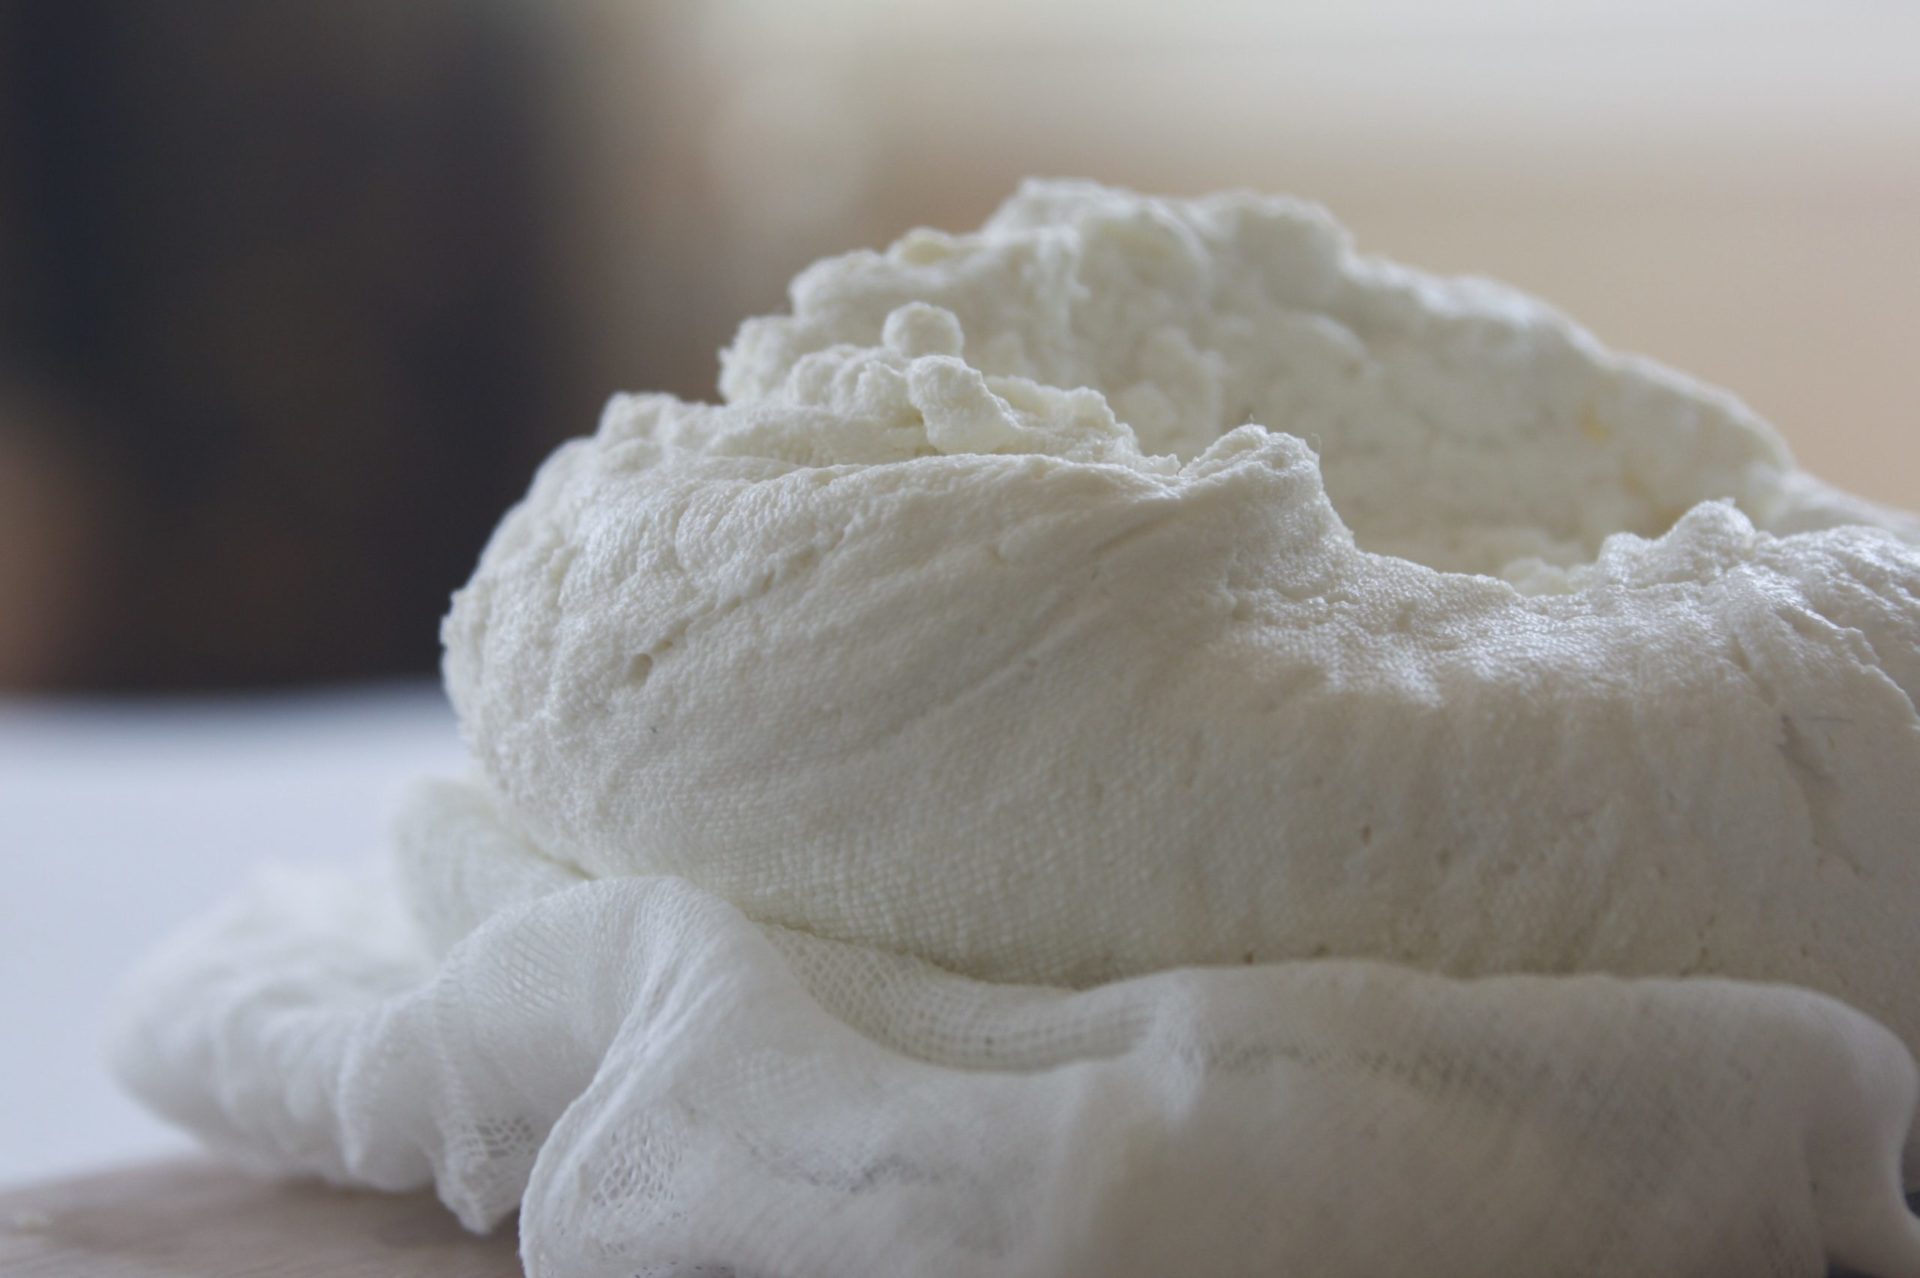
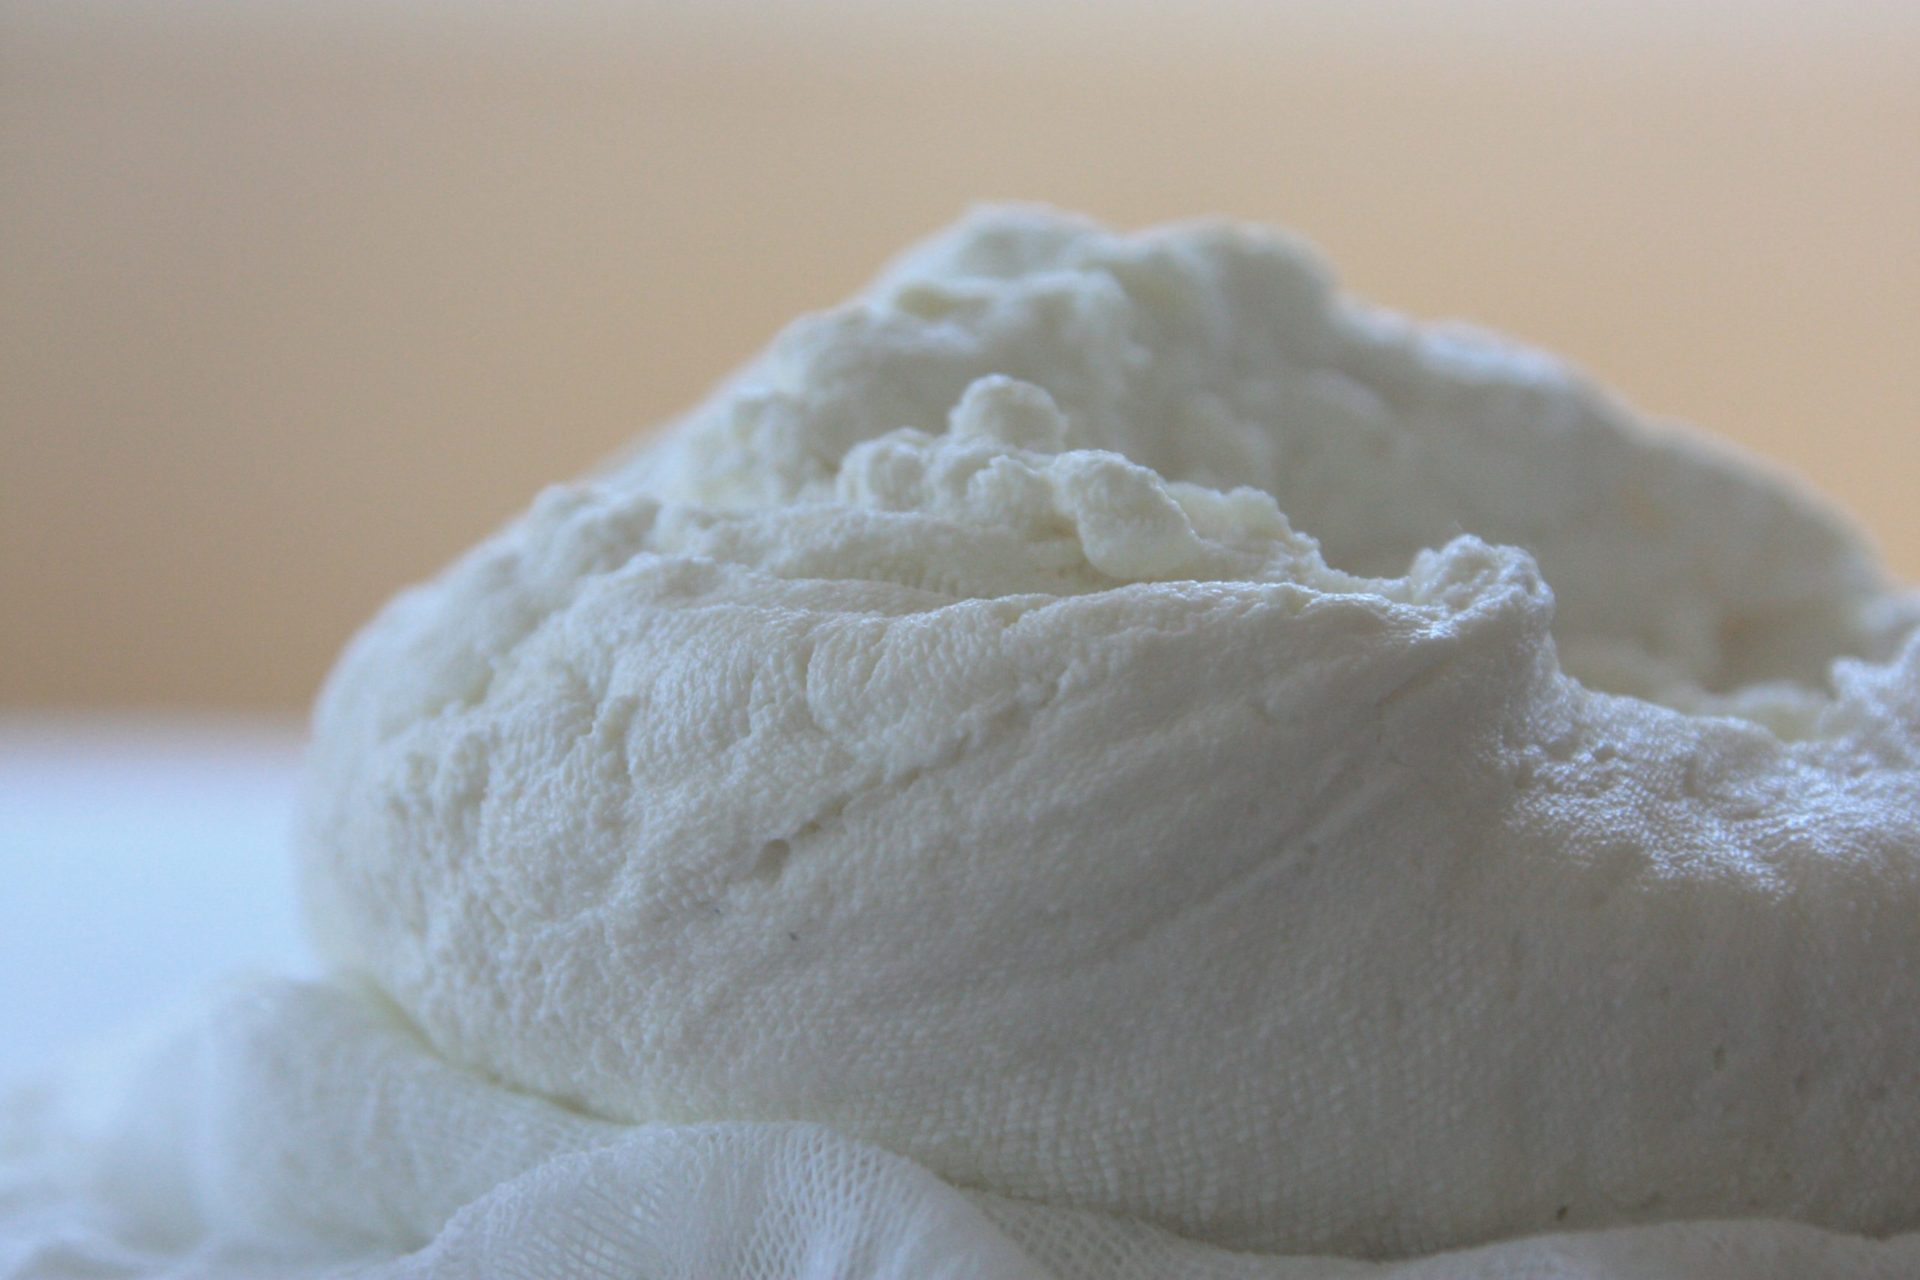
Remove cheese from cheesecloth and refrigerate. (Best if used within a few days.)
Once chilled, enjoy!!
Thank you so much for posting this recipe, I haven’t seen one made with buttermilk before.
I’m just learning to make homemade ricotta and so far I have small yields. I haven’t read any online recipe which gives a yield, so maybe my results are normal.
From a 2.5 quarts of whole milk I got about 1.5 cups. Sound normal?
Hi Ameia! Yes…about right as I usually get around 3 or 4 cups from a gallon of milk. Michele
Okay, next time I’ll do a whole gallon.
Cheers!