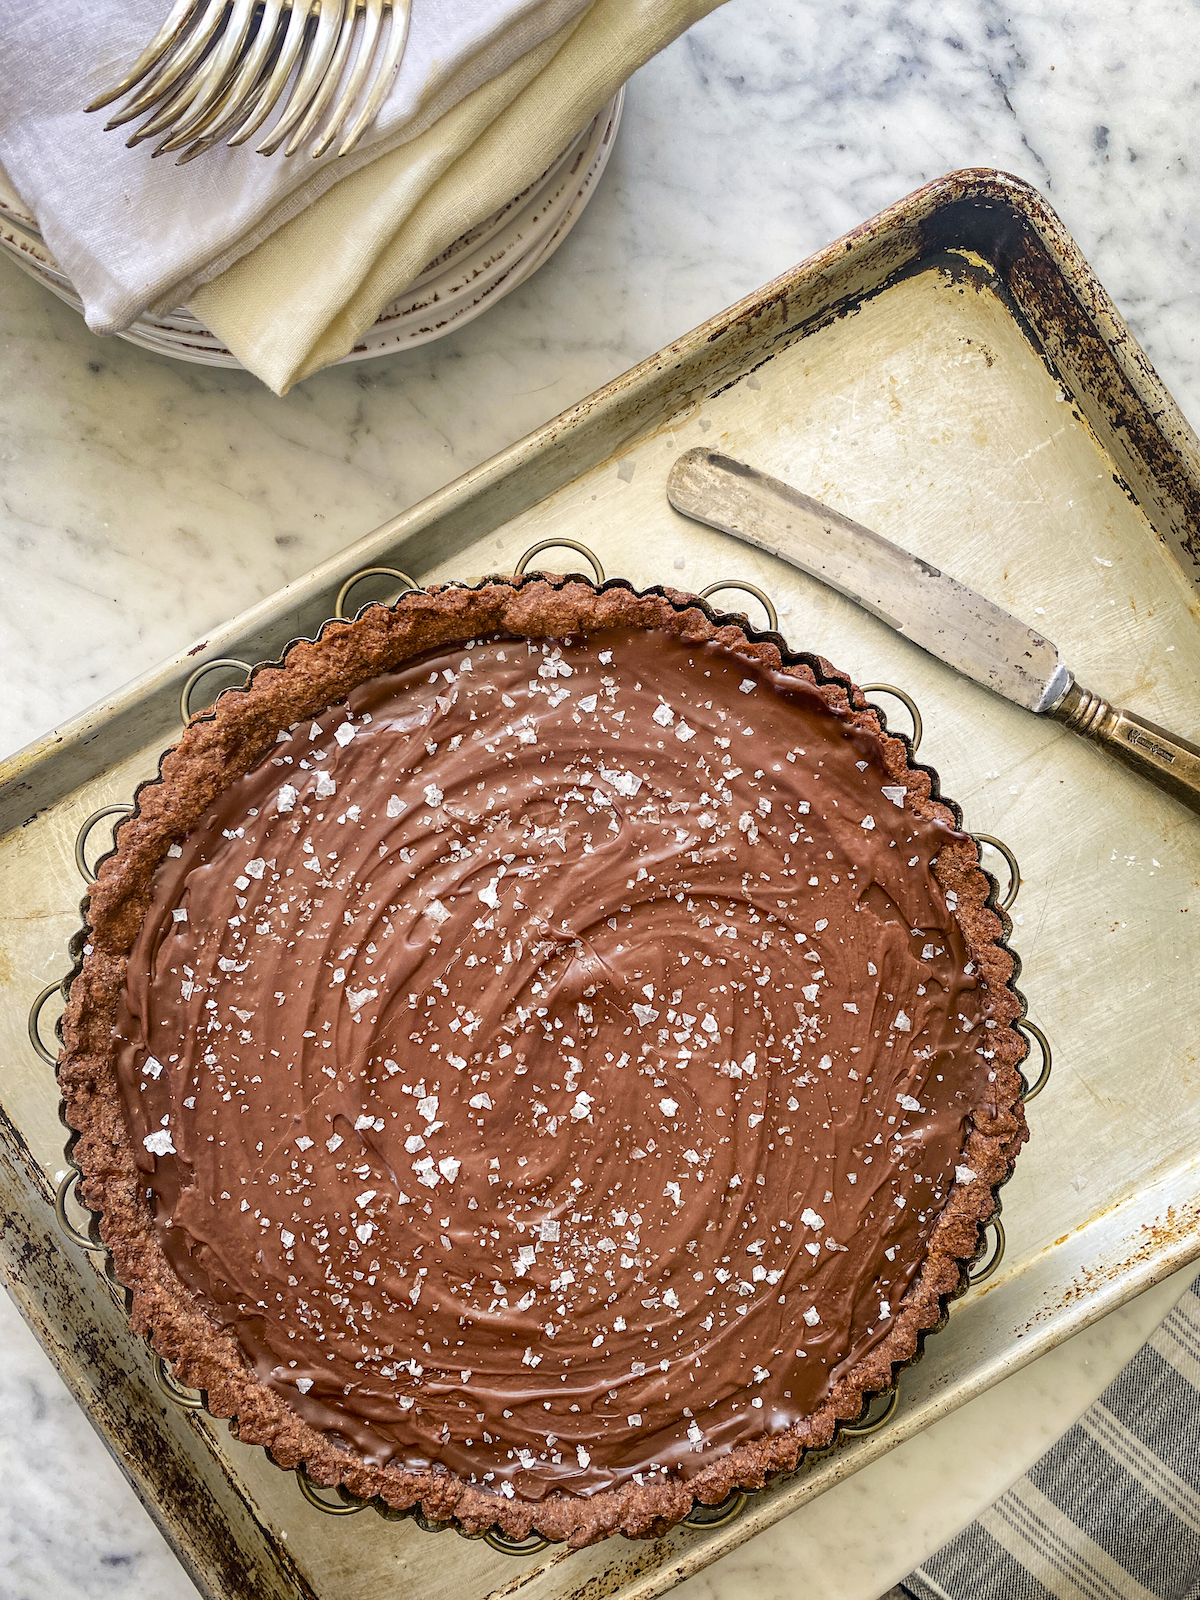
I am not sure what has me more excited….this crostata or that we are headed back to Italy next week! (Ok, I really know the answer to that but this salted chocolate crostata was pretty darn tasty 😉) First, lets talk about the crostata, shall we? This supremely chocolate-y piece of heaven is super simple and makes you feel like you were just hugged by a huge fuzzy chocolatey (nice) bear.
I had a hankering for something comforting and chocolatey this past week and remembered a photo in one of my bazillion cooking emails I receive that had a delicious looking chocolate and pear dessert – I thought the pears would at least add a little healthy kick atop a chocolate ganache filling – well, let me just say that once I poured the chocolate in the pastry I knew that was it – not a pear would touch that shimmering surface – but rather nice flaky sea salt. (Sorry, pears! In my defense, I did make another special dessert with you!)
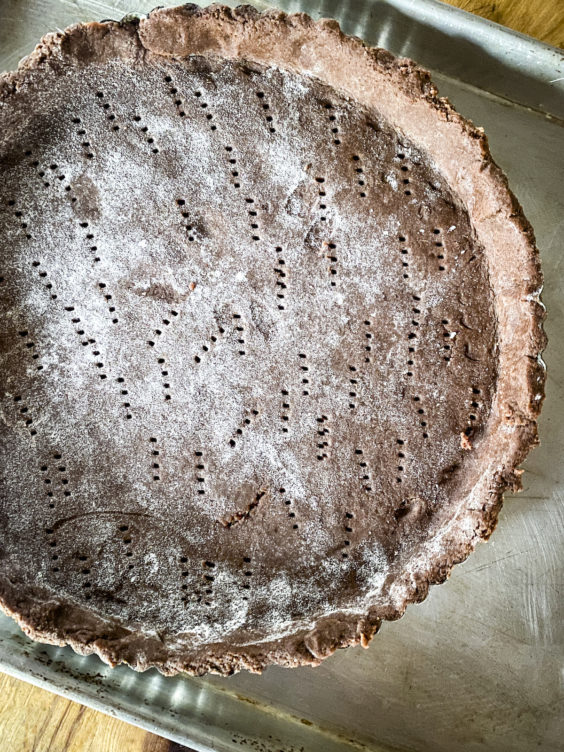
This crostata could not be easier. The chocolate crust is an Italian pasta frolla or sweet shortcrust pastry that is incredibly forgiving. Just make sure your butter is cold out of the fridge. If you have a food processor, it makes this even easier but it also super easy to do by hand – just a little more effort. Be sure to chill the dough to let it firm back up after handling the butter and it will need a hot minute to soften back up when you get ready to roll it out. I like to roll the dough out between two sheets of parchment or wax paper which then makes it super easy to transfer to the pie pan. You may have some extra dough once you trim the edges at the top of the pie pan – do not toss them! Just pop them in the oven on a separate baking sheet for a few little (oddly shaped) cookie treats – just remember they are in the oven so you take them out way before the crust is finished (in like 10 minutes).

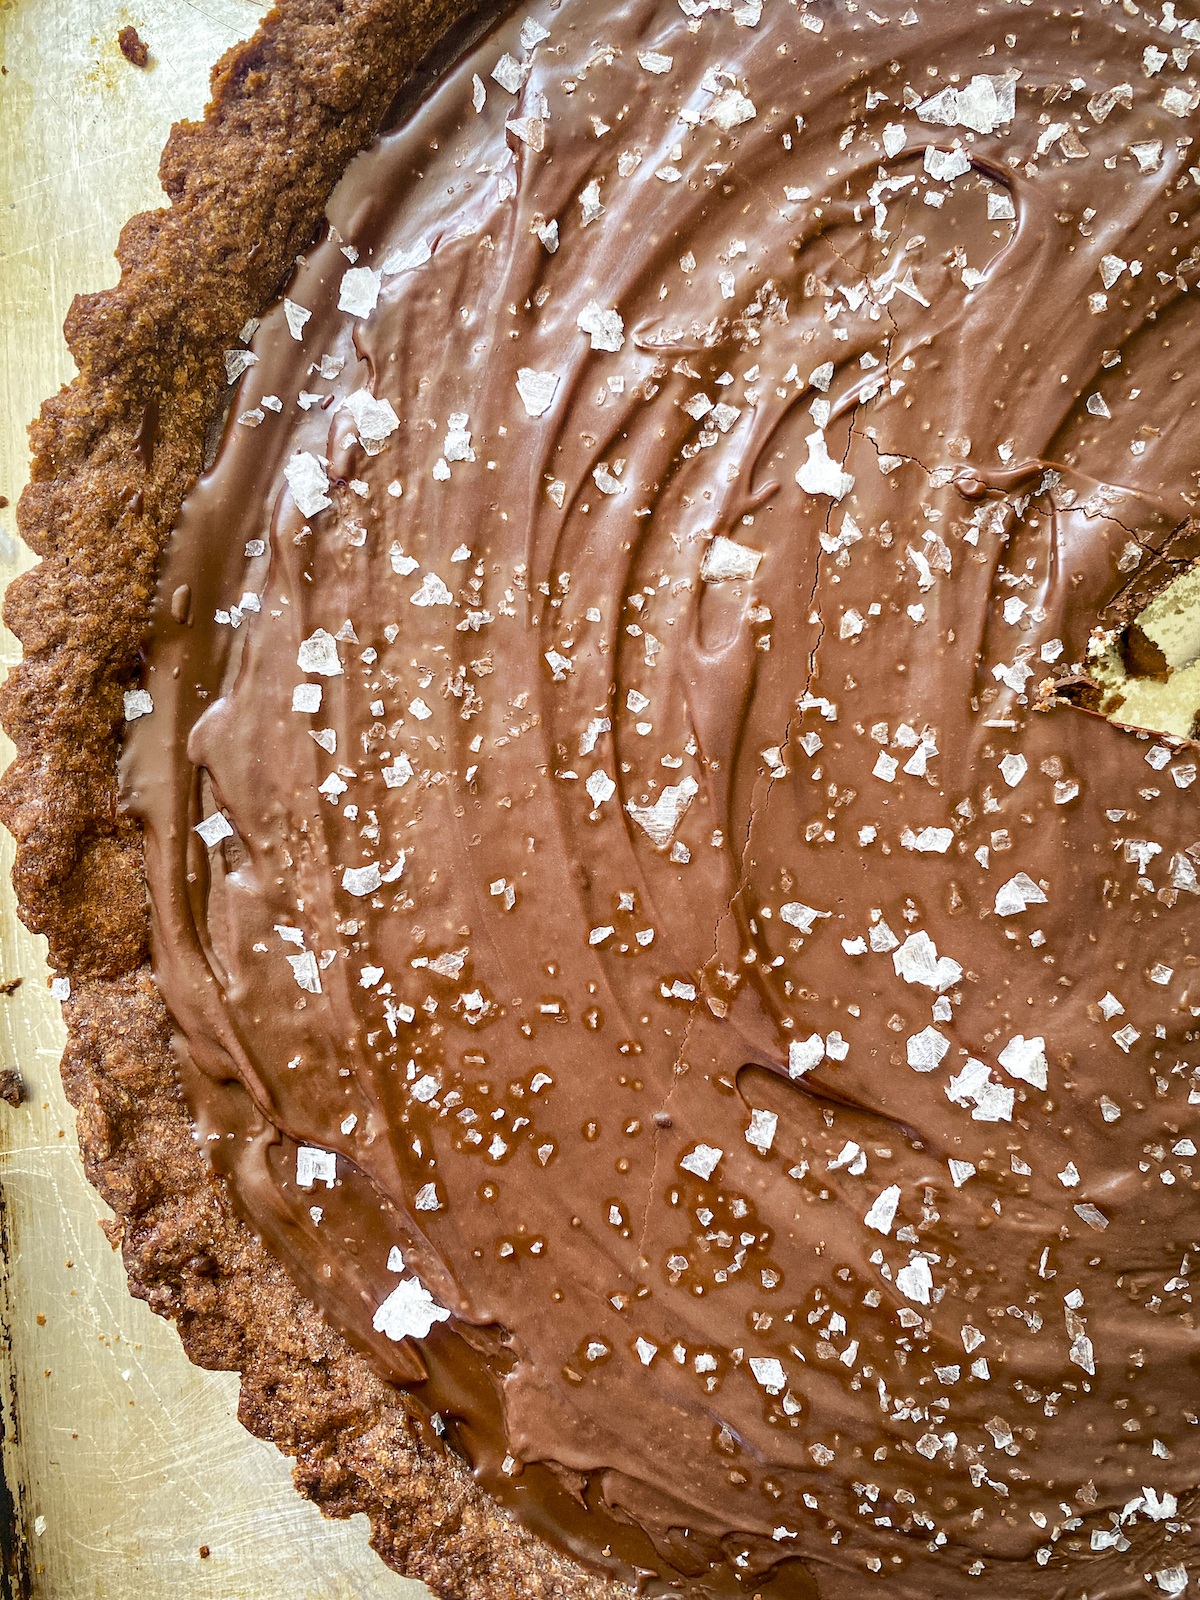
The filling is even easier – cream and chocolate. That’s it. And flaky sea salt which I sprinkled on just after I poured the filling into the crust and then again after hardened. I used bittersweet chocolate but use your fave – of course, milk chocolate works magically as well. One word – yum. Be sure to leave enough time to allow the chocolate to harden – a few hours – which also makes this a great make-the-day-before dessert. One word – yum.
So finally I get to talk about Italy!! I am about to celebrate another year around the sun – this one a ‘milestone’ birthday (OMG – I AM HOW OLD?!?!?! 🥺). Joey and I promised each other we would celebrate milestone birthdays together starting with his 50th – and have made some beautiful memories on the California coast (note – never send the Beccis wine tasting in the rain – it isn’t pretty 🙃)

For this big one, I wanted to be near the sea and in Italy – we decided on the eastern coast of Tuscany and then over to Montalcino for a week. Joey and Mark are already settled in in Italy and we head over next week to meet up with them!

Promise lots more from our travels in the weeks ahead!! (SOOOO excited! 🥳) Follow along on Instagram at @OurItalianTable !
In the meantime, un bacione 😘
Buon appetito!
Michele
xx
Print
Salted Chocolate Crostata
- Yield: 8–10 servings 1x
Description
A simple and delicious chocolatey crostata topped with flaky sea salt!
Ingredients
For the pasta frolla:
- 1 3/4 cups all-purpose or 00 flour
- ¼ cup unsweetened cocoa powder, sifted
- ½ cup granulated sugar
- ½ teaspoon baking powder
- Pinch of kosher salt
- 10 tablespoons cold, unsalted butter
- 1 large egg, plus 1 large egg yolk
- ½ teaspoon vanilla
For the filling:
- 12 ounces bittersweet chocolate, coarsely chopped
- 1 1/4 cups heavy cream
- Flaky sea salt
Instructions
Make the crust:
- Combine the flour, cocoa powder, baking powder and salt in the bowl of a food processor. Pulse briefly to mix the ingredients. Cut the cold butter into approximately ½ inch cubes and add to the processor bowl. Pulse until it forms a crumbly mixture. Add in the egg, egg yolk and vanilla and process until the dough begins to form a ball. (No food processor? No problem! Just combine the dry ingredients together in a medium bowl. Add in the cubes of butter, egg, egg yolk and vanilla. Cut the butter into the mixture using a pastry scraper or spatula until rough crumbs form. Knead the dough until all the ingredients are absorbed and forms a ball.)
- Transfer the dough to a lightly floured work surface and work into a ball. Wrap the dough tightly in a sheet of plastic wrap and let rest in the refrigerator until well chilled, 30 minutes – 1 hour.
- Butter and flour a 10″-diameter tart pan with removable bottom.
- Preheat the oven to 350 degrees Fahrenheit.
- Remove the dough from the fridge and lightly dust a work surface with flour. (Alternatively, roll out between 2 sheets of parchment or waxed paper.) Roll out the dough to about ½ inch thickness. Using the rolling pin or the paper, carefully pick up the pastry and lay it over the prepared pan. Tuck the pastry into the pan. Roll the rolling pin over the top to cut any stray edges. Prick the base all over with a fork.
- Cover with a piece of parchment paper; fill the parchment paper with drief beans or baking weights and bake for 20 minutes. Remove the paper and weights. Bake for another 5 minutes or until firm and dry to the touch. Remove crostata from oven and allow to cool completely.
Make the filling:
- Bring the cream just to a boil in a small saucepan. Remove from heat. Add in the chopped chocolate. Let sit for about 1 minute. Stir with a whisk slowly until the chocolate is melted and smooth. Let it sit until it has reached a slightly thickened consistency, stirring occasionally, about 10-15 minutes.
- Pour the filling into the baked crust. Smooth out the top with a spoon. Sprinkle with flaky sea salt. Place in fridge for at least 2 hours, or until firm. When ready to serve, remove from fridge and sprinkle with additional flaky sea salt. Buon appetito!
Notes
Special equipment: A 10″-diameter tart pan with removable bottom, ceramic pie weights or dried beans
This looks delicious! I’m looking for cake recipes because it’s my kid’s birthday next week. This would be a good choice!
Excellent result. Made it yesterday and all of my family loved it. Easy to made and taste incredible, the contrast between the chocolate and the salt brings out great flavor. Kisses from Spain.